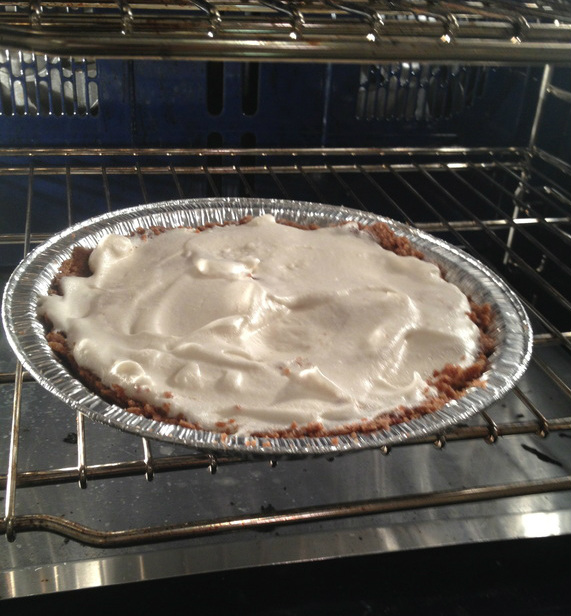
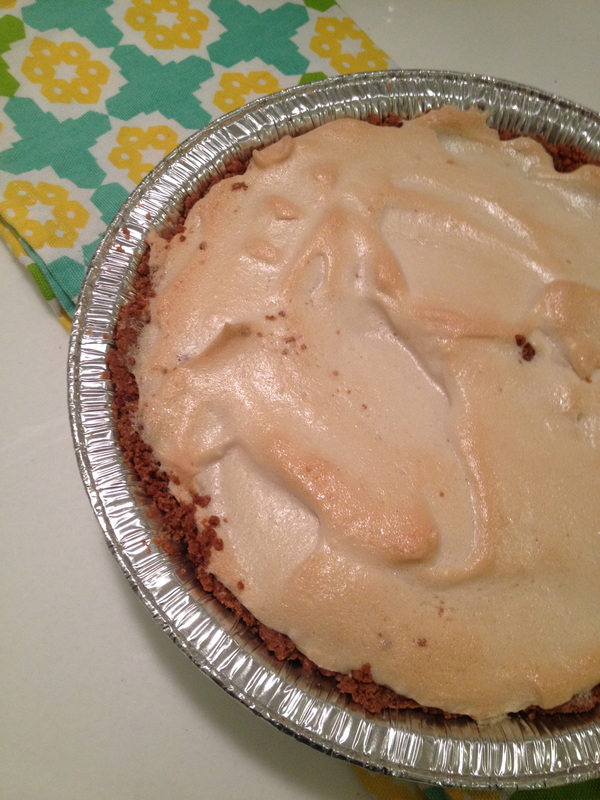
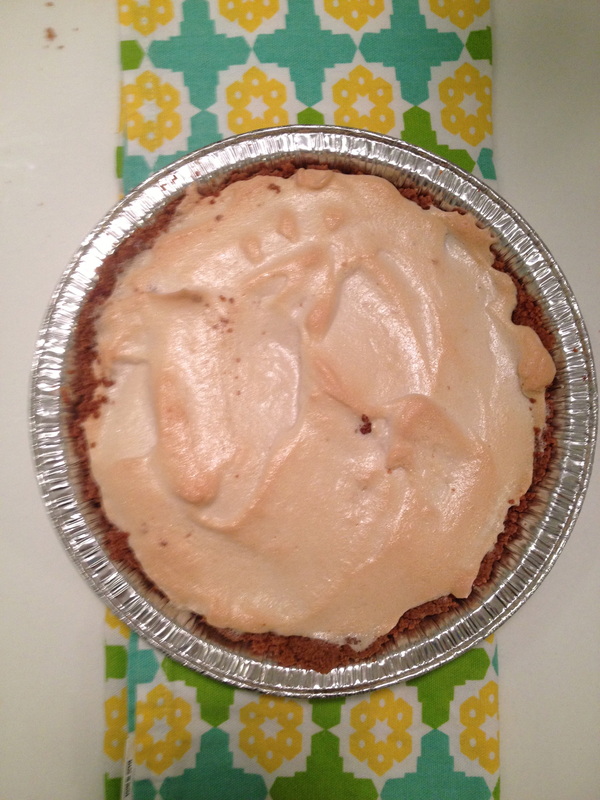
Look at that beautiful meringue pie, about to go in the oven... It looks delicious, and took me about 2 seconds to create the filling. The crust is my Homemade Graham Cracker Crust, which I posted a while earlier. Don't tell me you don't want to make that now. Because I know you do. So let me tell you how. Ingredients: - 2 egg whites
- 4 tablespoons sugar
- 1/2 tsp vanilla
- 1 pie crust
(yes there are only 4 ingredients) Directions: - Preheat oven to 325 degrees.
- Whip the egg whites until frothy, and then slowly add the sugar.
- Add the vanilla, and whip egg whites until stiff peaks form.
- Put the mixture into the pie crust, and bake for 16-18 mins.
If that wasn't easy, then I don't know what is! Try it out! It was delicious!
This is another Chocolate Covered Katie post. I promise you that this is the last one for awhile, but they are just so good I can't just bake them and NOT show them to you I mean that would be unfair. Wow, sorry, that photo is really blurry. I was in such a rush to eat them I just couldn't take a normal picture. But still, if they don't look good to you then you are lying because they are beautiful. Anyways, you need to try this yourself. It takes almost no active cooking time to make these. Here is the link for the recipe! On another note, please, please, please send in your recipes! I only have a couple of submissions! I would loveee to see your recipes and make them myself! Thanks so much!
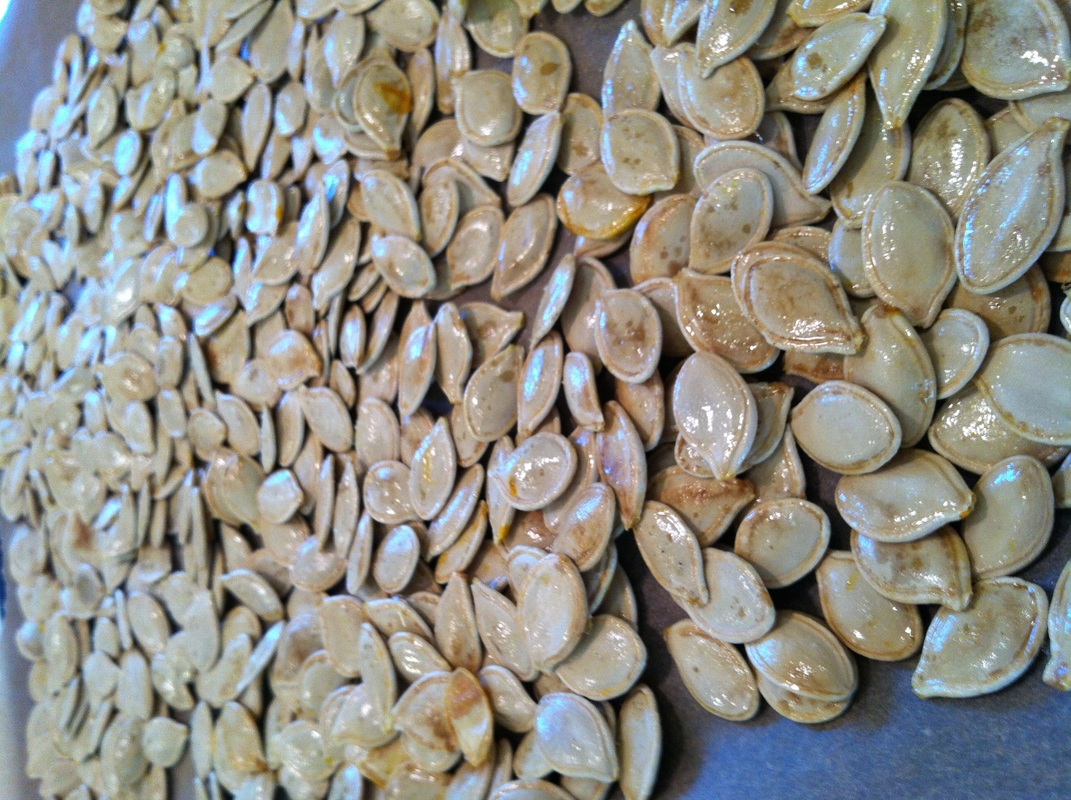
Today, my family carved our pumpkins. We cut them open, scooped out all the seeds and pumpkin guts, and carved faces on them. But as you know, whenever you carve pumpkins, it is mandatory that you cook the pumpkin seeds. Because they are delicious and it is the one time of year when you are able to make/eat them yourself. The only issue with this is that sometimes your pumpkin seeds turn out wayyyyy too chewy and it's super disappointing because you spent a TON of time on them.
Here is something that you never knew about cooking pumpkin seeds before: boil them for 10 minutes before baking them. It makes them SO much more crispy and delicious. Also, when they are halfway done baking, pop a few open and make sure the inner seed is not brown. The inner seed cooks faster than the outside, so by the time the outer seed looks done the inner seed is burnt!
Thank you so much for visiting this blog! Remember to submit your recipes!
First, let me start of by saying that this is delicious. Second of all, let me say that it's made out of spinach and avocado. Okay, okay, please don't freak out. I know that some people have a fear of the healthy foods in junk food. It's okay, I promise. I understand, it's not unreasonable. But I promise you that this actually tastes GOOD as well as being healthy. And when it's done, you can't even tell that there are avocados and spinach in it. It just looks like mint chocolate chip ice cream.
Here's how I made it:
Ingredients: - 1 avocado
- 1 handful of spinach
- 2 cups vanilla yogurt
- 1/2 cup skim milk
- peppermint extract to taste
- 1/8 tsp salt
- 3-4 tablespoons sugar
- chocolate chips
Directions: - Put all ingredients except chocolate chips in blender, and blend until smooth.
- Put into a sealable container and freeze, stirring every 30 minutes.
Look at how easy that is! It's great!
Thank you guys so much for reading this blog! It really means the world! Remember to follow us on Twitter, Facebook, Pinterest, and Instagram. Also, you can still submit recipes! I'd love to see what you guys like to cook
Since I made the coconut cookies yesterday, I decided that today I would tell you about coconut oil. Here are my favorite ways to use it!
1. In my hair. Okay, I know, I know, why would someone put oil in their hair? But just hear me out on this one. Right before your shower, put a little coconut oil on the ends of your hair. It heals dead ends and makes hair shiny, never oily! You can also put it in your scalp to stimulate hair growth.
2. On my hands. I don't know about you, but in the wintertime my hands are a dry mess. One of the ways I try to keep that under control is by rubbing coconut oil on my hands. It makes them smooth and shiny, and best of all, they smell delicious! And it's all natural!
3. In food! Coconut oil makes really yummy food. And, If you use unrefined virgin coconut oil, it contains a lot of healthy fats! I use it a lot in baked goods, but you can also use it in smoothies and tea!
4. To remove eye make-up! Yes, it really works, and you don't have to use any nasty chemicals on your eyes.
5. As Chapstick. Just like it moisturizes your skin and hair, it will also moisturize your lips!
These are just a couple of the uses! There are many other ways to make the most of coconut oil. Try some of these out and tell me how you like them! I use them all the time! Thanks guys!
I think we all agree it's time for a break from pumpkin. So here it is! Coconut cookies. They are delicious. And, not to mention, healthy. I added applesauce instead of butter, cut wayyyyy down on the sugar, and used oat flour (made by me!) instead of white flour. And it didn't hurt it one little bit. They are still absolutely delicious and easy to make. Here is my recipe! Ingredients: - 1 1/4 cups oat flour
- 1/2 teaspoon baking soda
- 1/4 teaspoon salt
- 1/2 cup applesauce
- 1/4 cup packed brown sugar
- 1 egg white
- 1/2 teaspoon vanilla extract
- 1 1/4 cup shredded coconut
Directions: - Preheat oven to 350 F
- Combine oat flour, baking soda, and salt.
- In another bowl, mix the applesauce and sugar, then slowly beat in the egg, vanilla, and flour, baking soda, and salt mixture. Mix in the coconut.
- Shape dough into balls and place on an ungreased cookie sheet.
- Bake for 12-15 minutes.
Try them out! They are delicious! Also, follow us on Twitter, Facebook, and Pinterest! And remember to submit your recipes! Thanks so much!
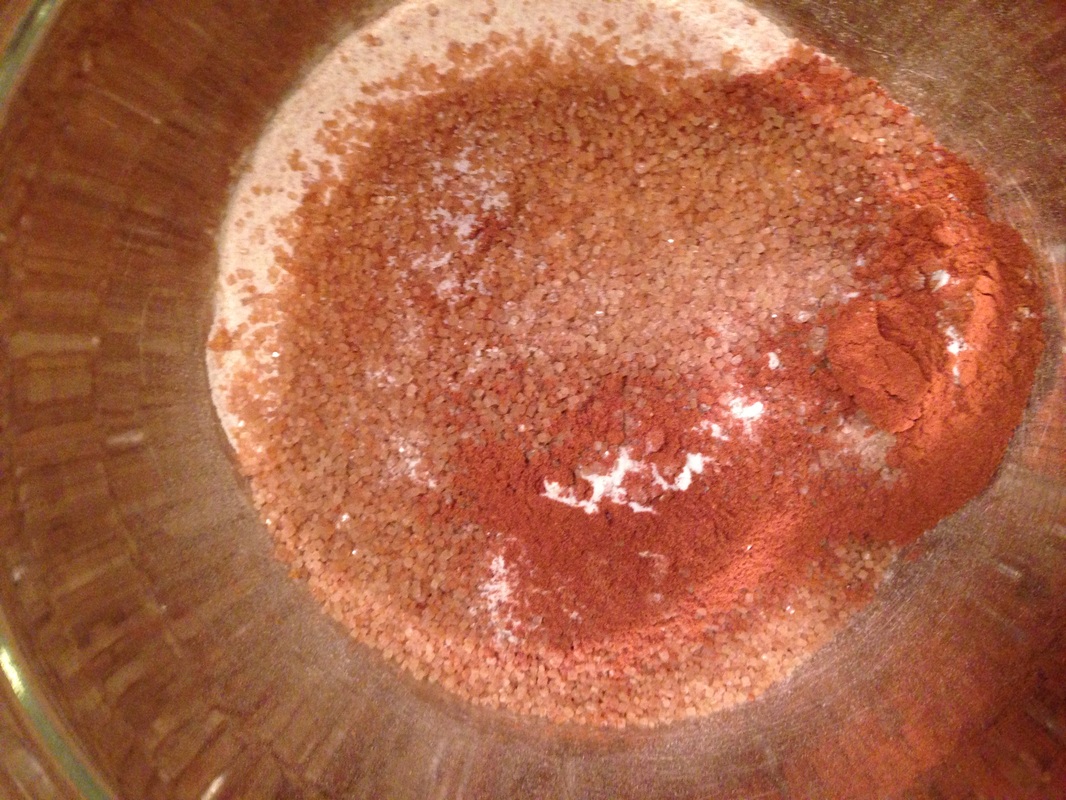
I know, I know, I'm obsessed with pumpkin, and I'm sorry to those of you that hate pumpkin. I'll try to limit my pumpkin posts in the next few weeks. But this right here is delicious and I just loved it so much I have to share it with you guys. This is also from Chocolate Covered Katie. Yes, I think I have tried all of her recipes. And no, I have not found one that is not delicious. Okay, here is her recipe for the healthy pumpkin squares. Pumpkin Squares Ingredients: - 1/2 cup oat flour
- 1 tsp cinnamon
- 1/4 tsp pumpkin pie spice
- 1/2 tsp baking powder
- 1/4 tsp baking soda
- 1/4 tsp salt
- 1 tablespoon flax seeds
- 3 tablespoons brown sugar (or agave) (For a sugar-free version, you can use xylitol.)
- 2 packets NuNaturals stevia (or 2 more tablespoons sugar)
- 1/2 cup canned pumpkin (or cooked, pureed pumpkin)
- 2 tablespoons milk of choice
- 2 tablespoons oil (Some readers say subbing applesauce is fine, but I haven’t tried it. Coconut oil is really good, but veg oil is ok too.)
- 1/2 tsp pure vanilla extract
Directions: - Preheat oven to 350 F.
- Combine dry ingredients, then add in wet.
- Spread into an oiled 7×5 pan (or double the recipe for an 8×8) and cook for 14-15 minutes. Note: You can sub agave for the sugar; they’ll just be fluffier/cake-ier.
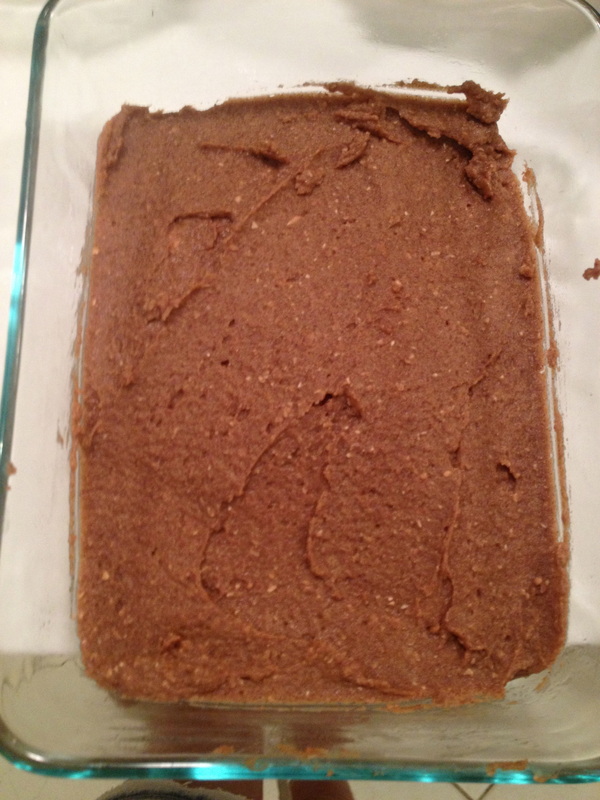
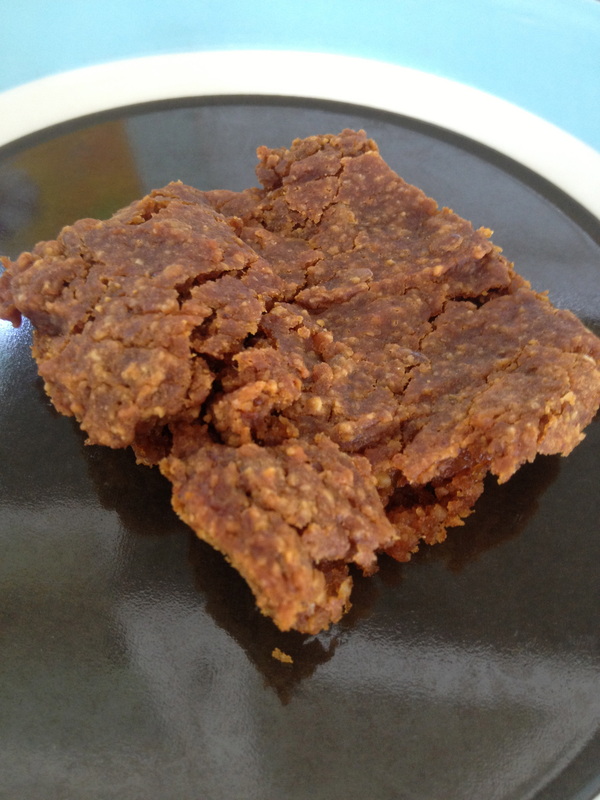
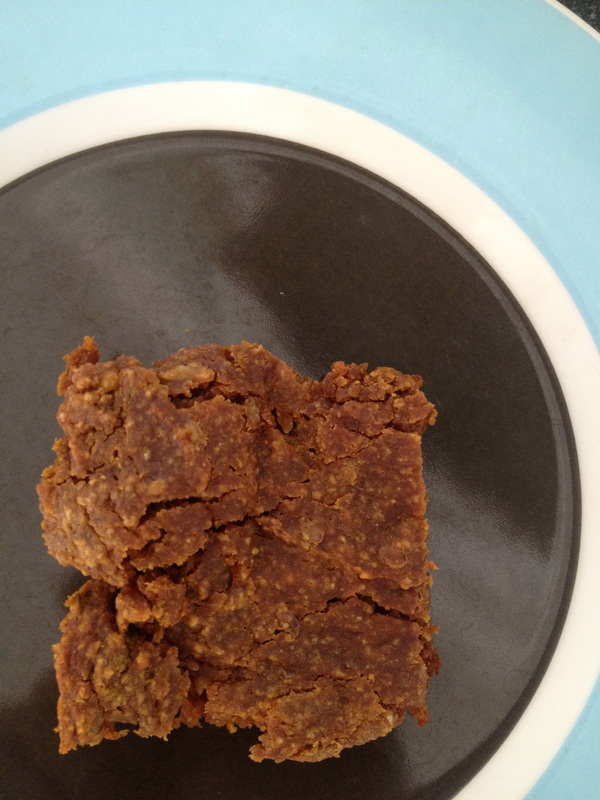
Again, this is all Chocolate Covered Katie, not me. Oh, I also have something to tell you about oat flour. You can make your own! It is honestly the best thing ever. Just put some oats in your blender and blend until they have about the same consistency as flour! Good luck! Here are my pictures of my pumpkin bars!
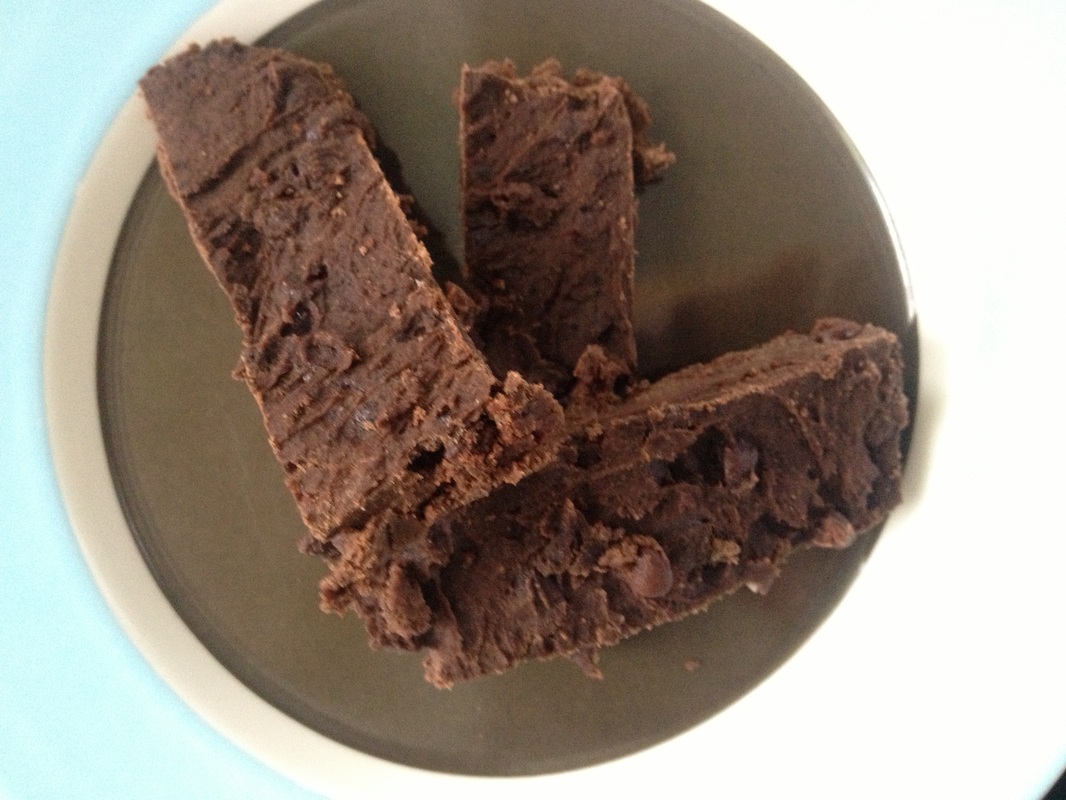
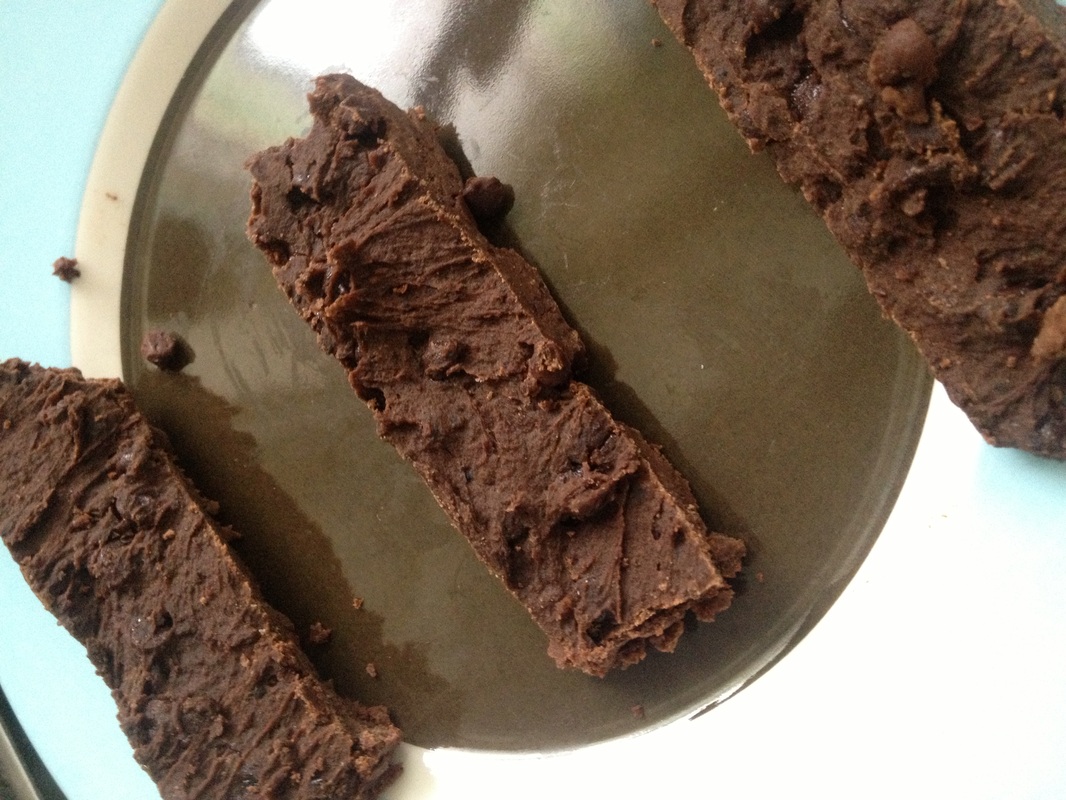
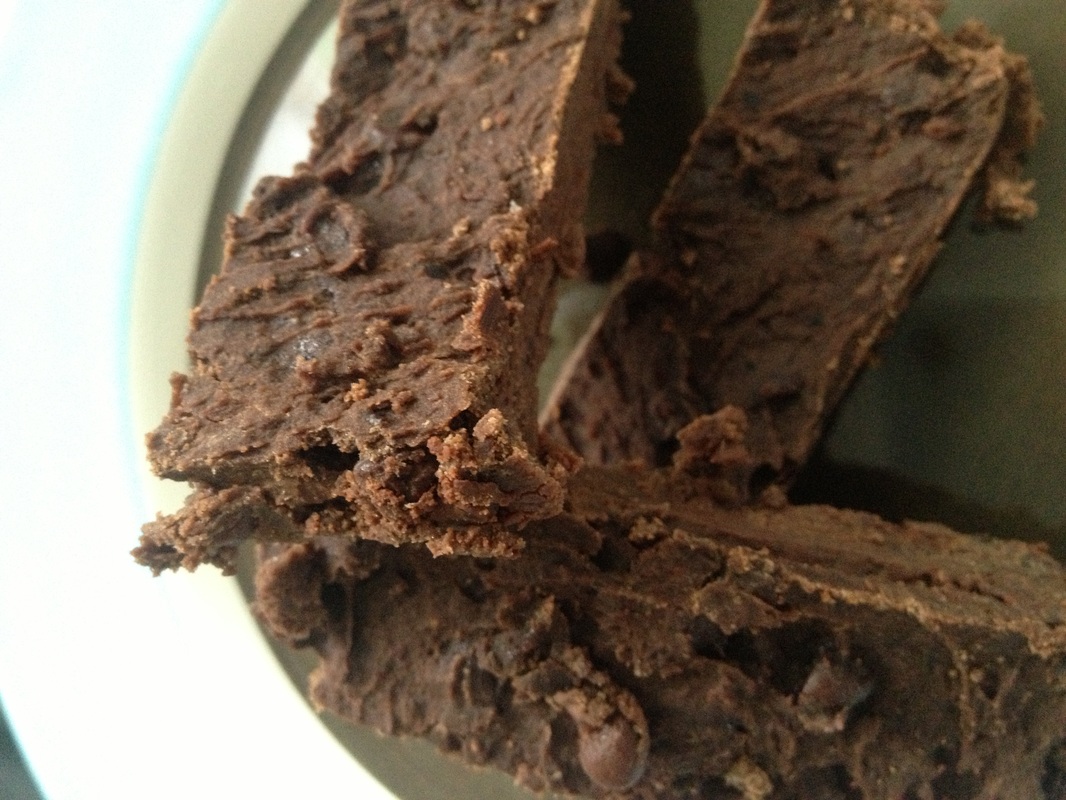
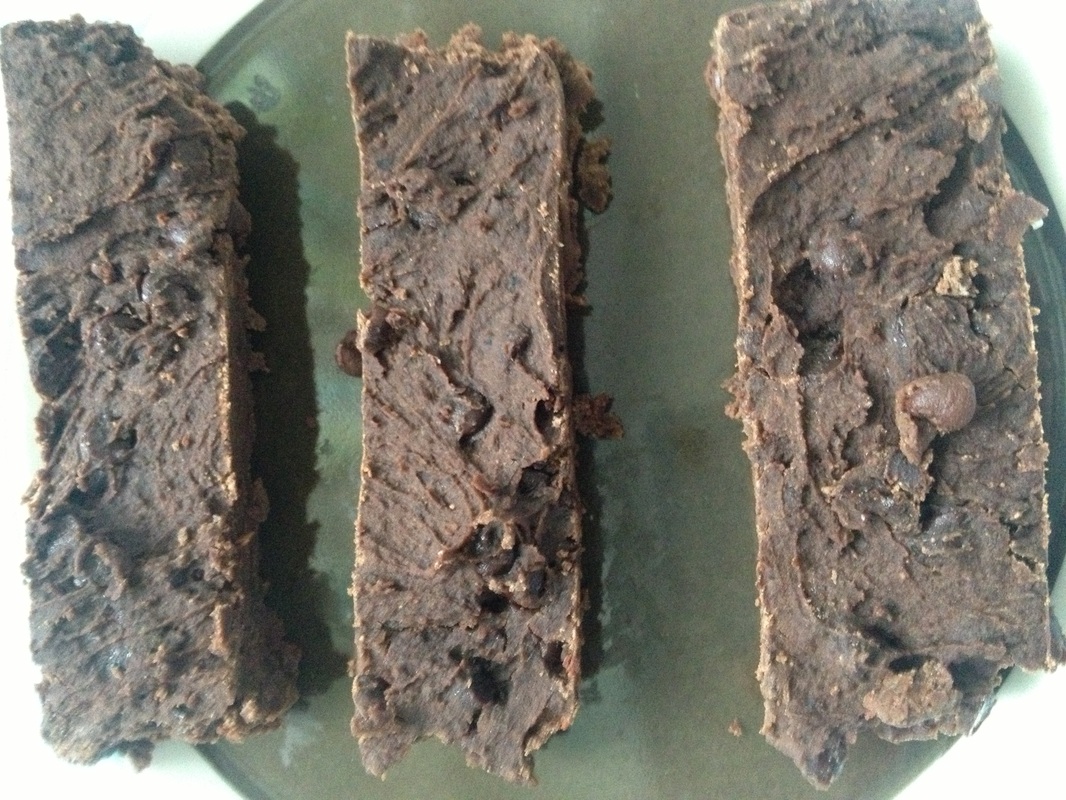
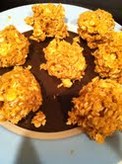
There is nothing like a huge pictureThese are amazing. They are filled with protein, so they are a great anytime snack. And, they have chocolate, so by definition the are delicious. And yes, I also got this recipe from Chocolate Covered Katie because every single recipe of hers is amazing and you cannot go wrong. Check out the recipe right here.
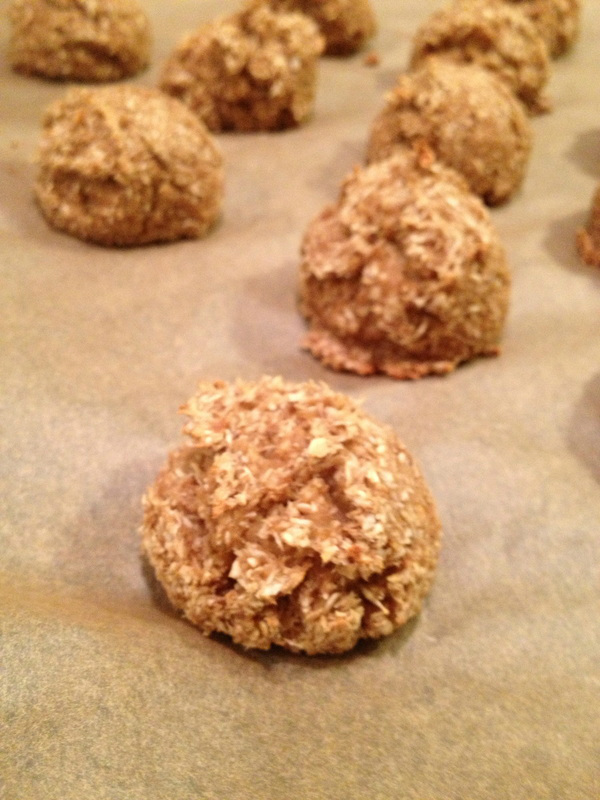
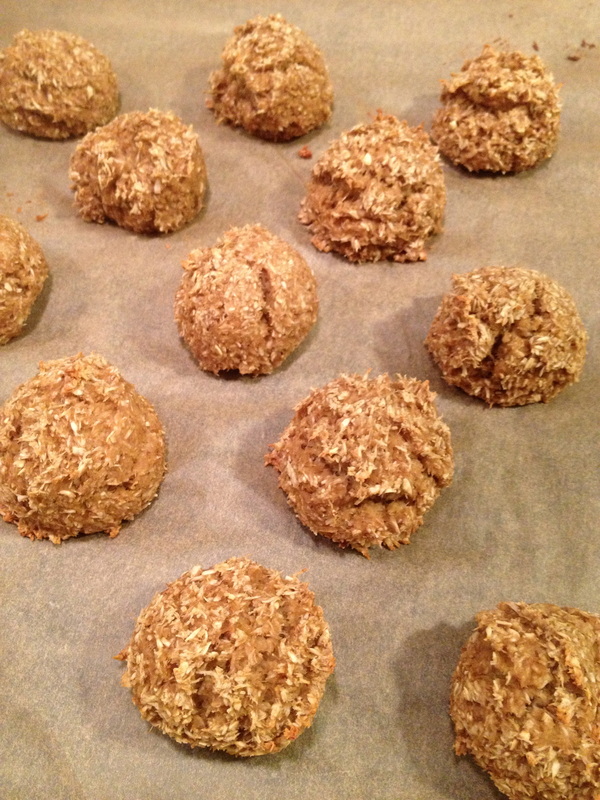
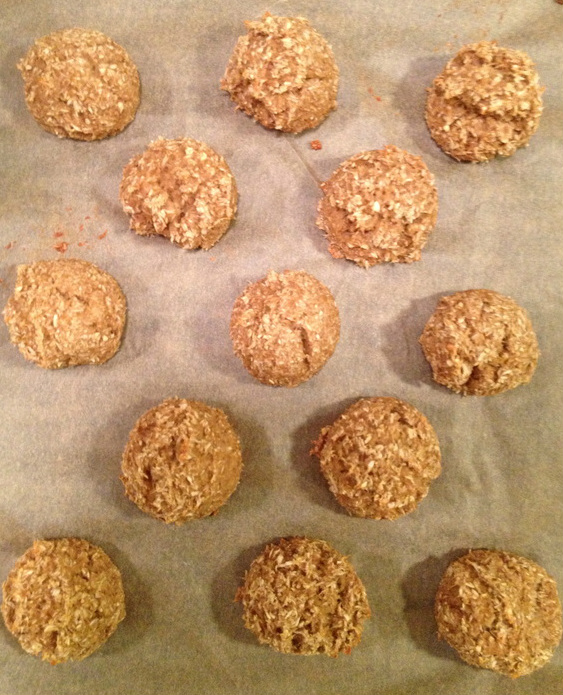
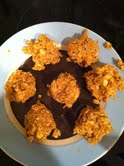
Sorry for another pumpkin post, but whoops can't do anything about that it's out of my control. It's just too yummy to refrain from telling you all about this. Okay, now let me tell you why these cookies are the best things you have ever tasted in your whole entire life. Number one, they are no-bake. That's right, everybody, no patiently sitting by the oven hoping for your cookies to be done soon so you can eat them all. You simply have to mix the ingredients together, and then eat it. You don't even have to form the dough into cookies if you don't want to, just eat it right out of the mixing bowl. Second, they have a crunch to them, from the raw sugar and oats that I used. Third, they have pumpkin and pumpkin spice and if you have that then everything is good. I know, I know, now you need the recipe. I won't keep it away from you. Oh, and just so you know, I did not come up with this recipe, it is from the wonderful blog Chocolate Covered Katie! She's a genius! Here is her recipe: Ingredients: - 3/4 cup quick oats (60g)
- 1/2 cup oat flour (or make your own by blending oats in a food processor until they become powder. Measure after blending.) (75g)
- 1/4 tsp salt
- 1/4 tsp baking soda
- 1/4 cup sugar (or coconut sugar or sucanat) (55g)
- 1/4 tsp cinnamon (optional: a pinch pumpkin pie spice as well)
- optional: handful mini chocolate chips
- 1/3 cup canned pumpkin (or sweet potato puree) (80g)
- 2 to 2 1/2 tablespoons milk of choice, as needed
- 1 tablespoon oil (omit if you desire, but I can’t vouch for the results)
- 1/2 tsp pure vanilla extract
Directions: - Combine all dry ingredients and stir very well.
- In a separate bowl, combine all liquid (including pumpkin). Then stir to combine, and form into balls or cookies. Or put in the fridge to firm up a little before forming cookies.
Here are pictures of the cookies! Try them out! I hope you like them! And also, remember to keep sending in your recipes!
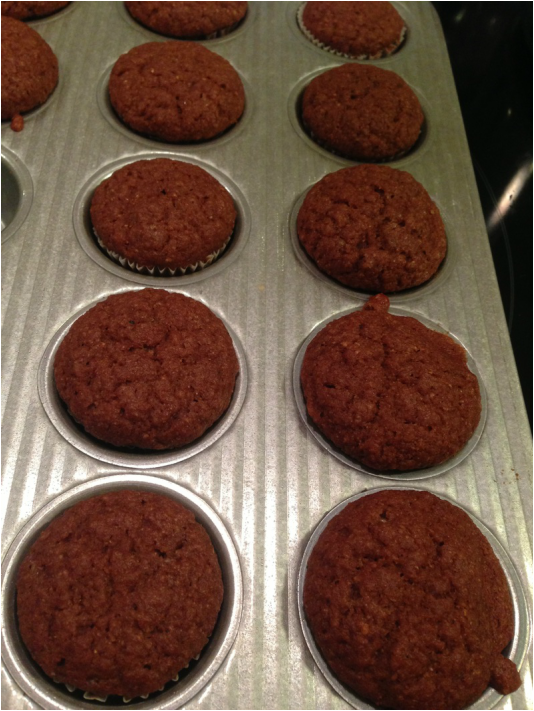
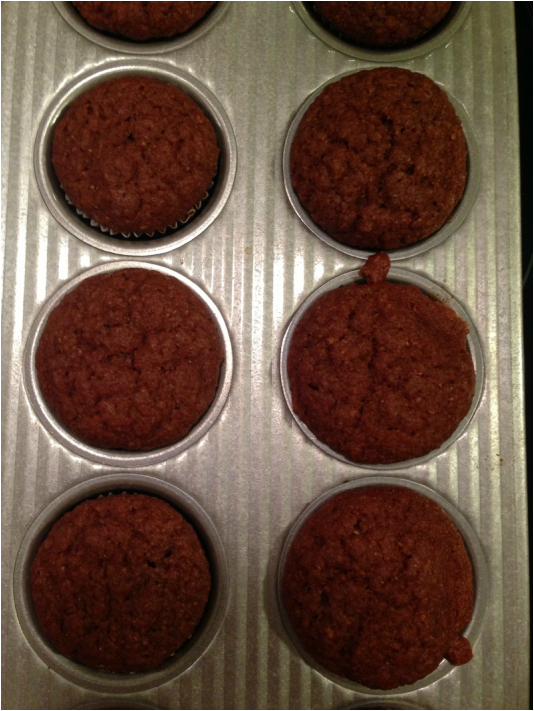
I have a love/hate relationship with the fall. Sometimes I love it, because there is Halloween and Thanksgiving and pumpkin pie and pumpkin everything, but sometimes I hate it because there is school. But today, I decided to make the most of the fall and make some pumpkin spice muffins because, let's be honest, they are delicious. So I happily start making my muffins, when, all of a sudden, it hits me. WE HAVE NO PUMPKIN IN MY HOUSE. Right then and there, I almost died. How do I make pumpkin spice muffins without PUMPKIN. But I already started and there is no way I'm turning back. So I look up pumpkin substitutes, and I find applesauce, and I'm like no that won't taste good, but then I realize that there is absolutely no other option. So I put in the applesauce. I am finishing up the muffin batter, and I'm praying that they taste somewhat like pumpkin, and SURPRISE! They do. So I'm super happy. So, I put my pumpkin batter in the muffin tin, and I have a tiny bit left at the end for one more mini muffin, but there is no more room in my pan. So I have to make 24 mini muffins and 1/2 of a big muffin, which isn't a huge dilemma, but it's annoying. On another note, the muffins turned out super delicious! There is honestly nothing better in this whole world than pumpkin spice. Try them out! They are super easy and delicious! Ingredients: - 1 1/4 cups unbleached all purpose flour
- 3/4 cup raw sugar
- 3/4 tsp baking soda
- 1 3/4 tsp pumpkin pie spice
- 1/4 tsp cinnamon
- 1/4 tsp salt
- 1 1/2 cups canned pumpkin puree (not pumpkin pie filling) (or like me you can use applesauce)
- 2 tbsp canola oil
- 2 large egg whites
- 2 tsp vanilla extract
- baking spray
Directions: - Preheat the oven to 350°F. Put paper liners in a mini muffin tin and spray lightly with baking spray.
- Combine flour, sugar, baking soda, pumpkin pie spice, cinnamon, and salt in a bowl.
- Mix pumpkin/applesauce, oil, egg whites, and vanilla extract in a mixing bowl, and mix until combined.
- Add dry mix to the wet mix, and mix until combined.
- Put muffin batter in a tin and bake for 22-24 mins.
|

 RSS Feed